Google Chrome Audio Settings (How to Access in 2025)
In this tutorial, we will show you exactly how to access Google Chrome audio settings in just a few simple steps. Read on to learn more.

Audio Settings in Google Chrome
Follow the steps below to access audio settings in Chrome.
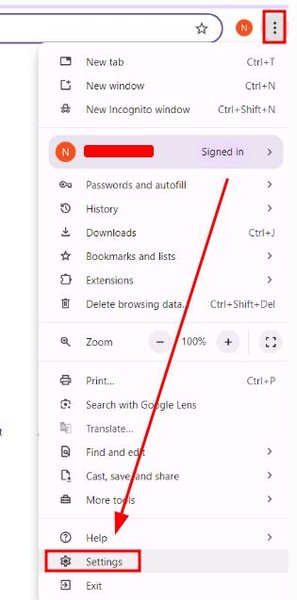
1. Go to Chrome Settings
Click the three vertical dots in the top right corner of the Chrome window to open the main menu. Choose “Settings” from the dropdown to access your browser settings.
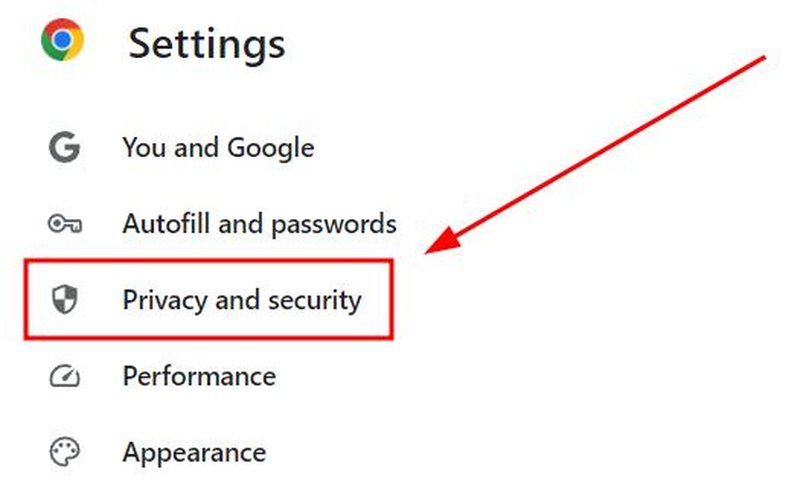
2. Enter the Privacy and Security Section
In the settings menu, locate and select “Privacy and security” to view related options and controls.
3. Access Site Settings
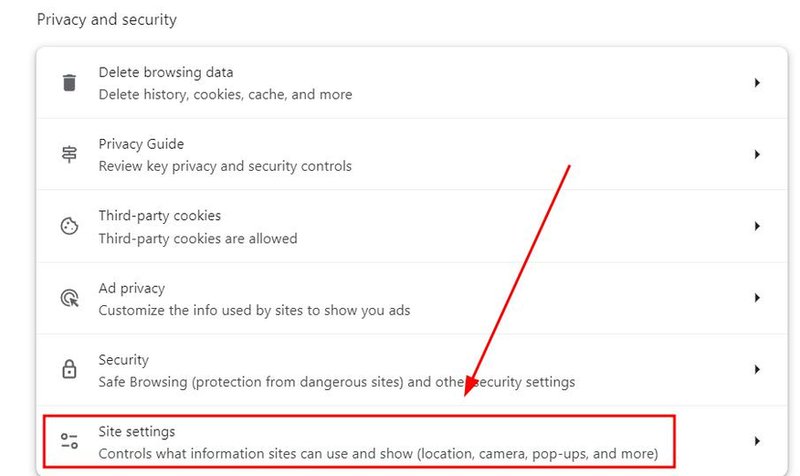
Within the “Privacy and security” section, find and click on “Site settings” to modify settings for individual sites, including permissions and data handling.
4. Adjust Audio Permissions
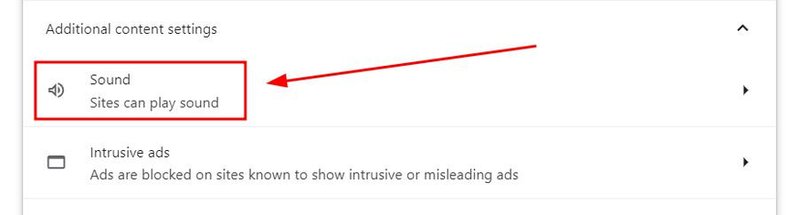
Scroll to find the “Sound” option under “Additional content settings.” Click on it to open and adjust which websites can automatically play sound.
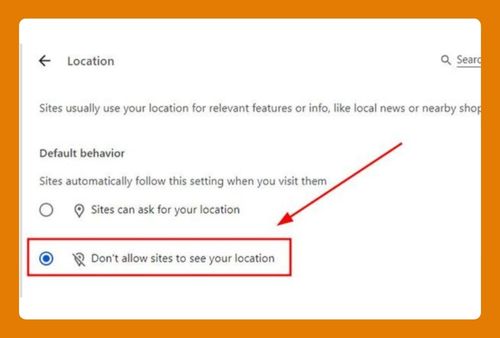
5. Manage Default Sound Settings
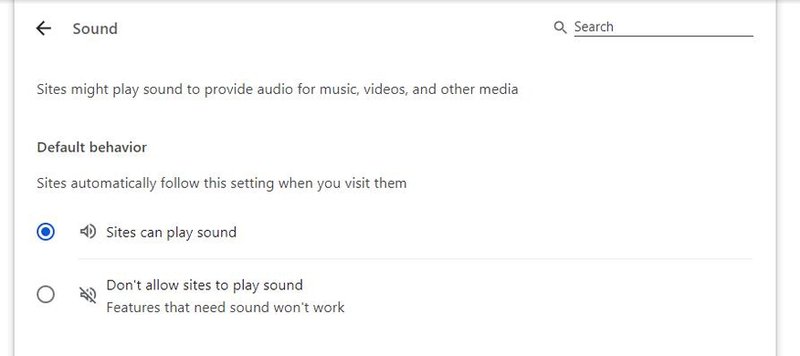
In the “Sound” settings, you can toggle the option to “Sites can play sound” to enable or disable sound across all websites by default.
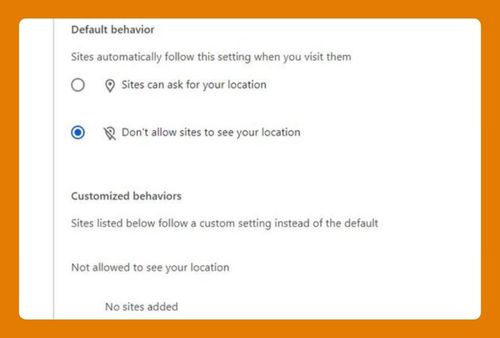
6. Customize Sound Permissions for Specific Sites
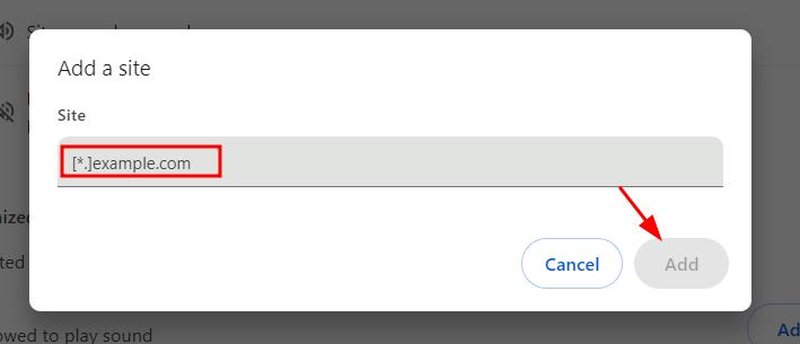
To manage sound settings for individual websites, go to the “Customized behaviors” section and click “Add” next to the “Not allowed to play sound” or “Allowed to play sound” sections.
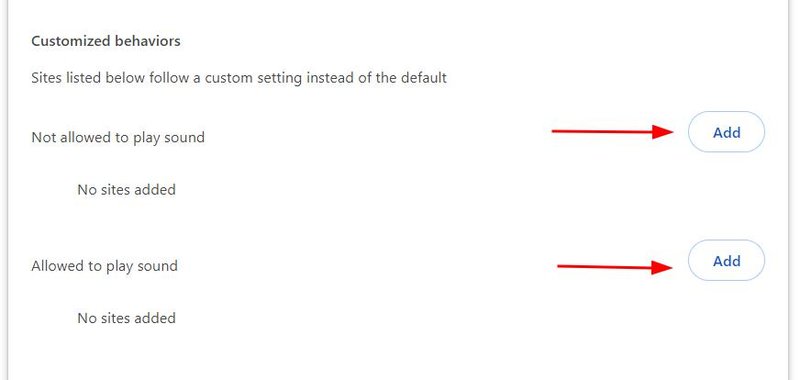
Enter the website URL and select whether to allow or mute sound for that specific site.
We hope you now have a better understanding of how to find the audio settings in Google Chrome. If you enjoyed this article, you might also like our articles on how to access internet settings in Google Chrome and how to access the autoplay settings in Google Chrome.