Open Google Chrome in Kiosk Mode (The Ultimate Guide for 2025)
In this tutorial, we will show you exactly how to open Chrome in kiosk mode. Simply follow the steps below.

How to Open the Kiosk Mode of Google Chrome
Follow the steps below to use Google Chrome in kiosk mode.
1. Create a Dedicated Google Chrome Profile for Kiosk Mode
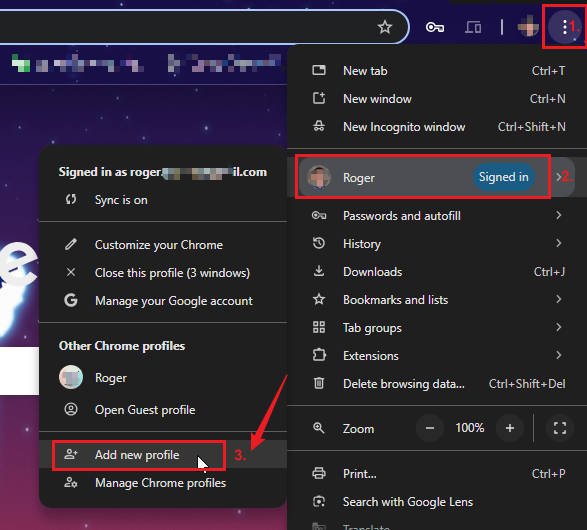
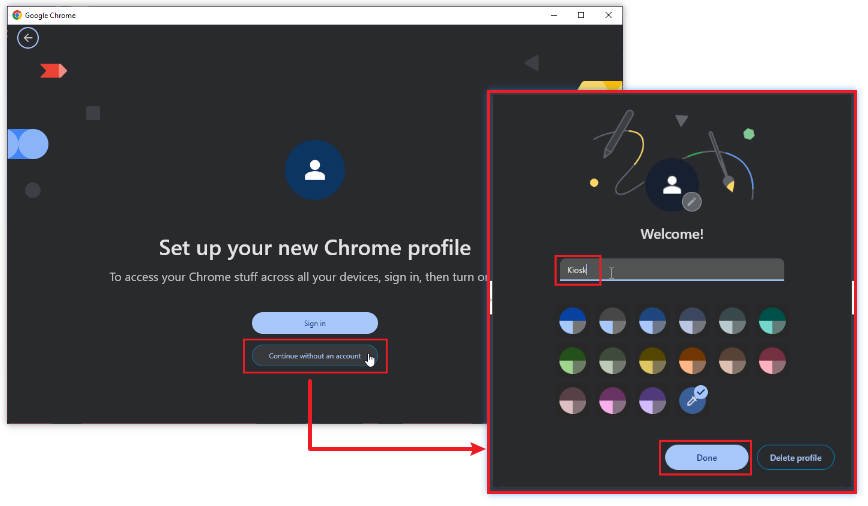
Click the “three vertical dots” in the upper right corner of your Chrome browser. Hover over your profile icon, then select “Add new profile.” A new window will open, allowing you to set up a new profile.
In this example, we’ll proceed without an account. However, if you prefer to use one, it won’t affect the process. Name the Chrome profile, then click “Done.”
On the new chrome profile, type in the search bar “chrome://settings/manageProfile” then press “Enter”. This will open a page where you can customize the new profile.

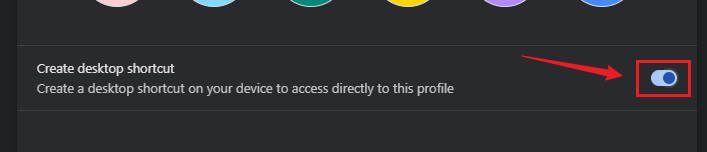
On the ‘Customize profile’ page, scroll down to the ‘Create desktop shortcut’ option and toggle it “on.” This will create a shortcut on your desktop, which is essential for setting up kiosk mode.
You can also customize the color theme and avatar for this kiosk profile, but for this example, we’ll keep those settings as default.
2. Go to the Shortcut Properties
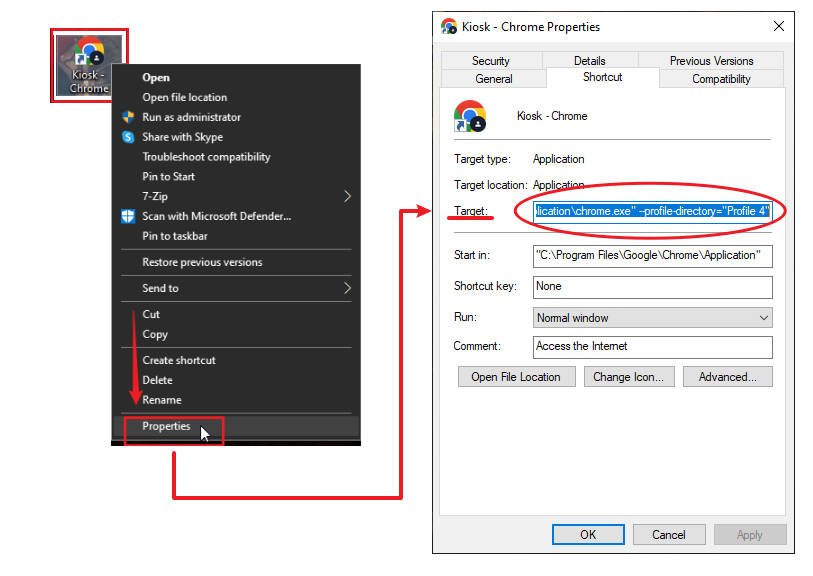
“Right-click” on the Chrome shortcut and choose “Properties.” In the Target field, you’ll see the current path of Chrome, which should look something like:
"C:\Program Files\Google\Chrome\Application\chrome.exe" --profile -directory=”Profile 4”
This is the path where Chrome is installed on your system. In this example, the profile directory is “Profile 4.” Your directory number may differ, as it simply indicates that this is the fourth profile created. Please note your profile directory number, as it is essential for the next step.
3. Add the ‘Kiosk Mode Command’ with Profile
To run Chrome in kiosk mode, you’ll need to edit and add specific flags at the end of the Target field. These include –user-data-dir to specify the profile and –kiosk followed by the target website you want to open. The command template looks like this:
"C:\Program Files\Google\Chrome\Application\chrome.exe" --user-data-dir="C:\path\to\Profile#" --kiosk https://www.example.com/
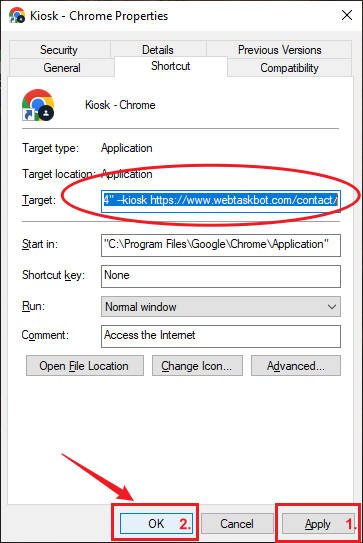
In the previous step, we noted that the profile directory for the shortcut is “Profile 4,” which we will use in the command. We’ll also use “https://www.webtaskbot.com/contact/” as the example website to which we want to restrict user access. With this in mind, the final command should now look like this:
"C:\Program Files\Google\Chrome\Application\chrome.exe" --user-data-dir="C:\path\to\Profile4" --kiosk https://www.webtaskbot.com/contact/
Replace the Target value in Chrome’s shortcut properties with the command provided. As a tip, you can simply copy the command above and modify it to match your specific parameters. Finally, click “Apply” then “OK” to save the changes.
4. Launching and Exiting the Kiosk Mode
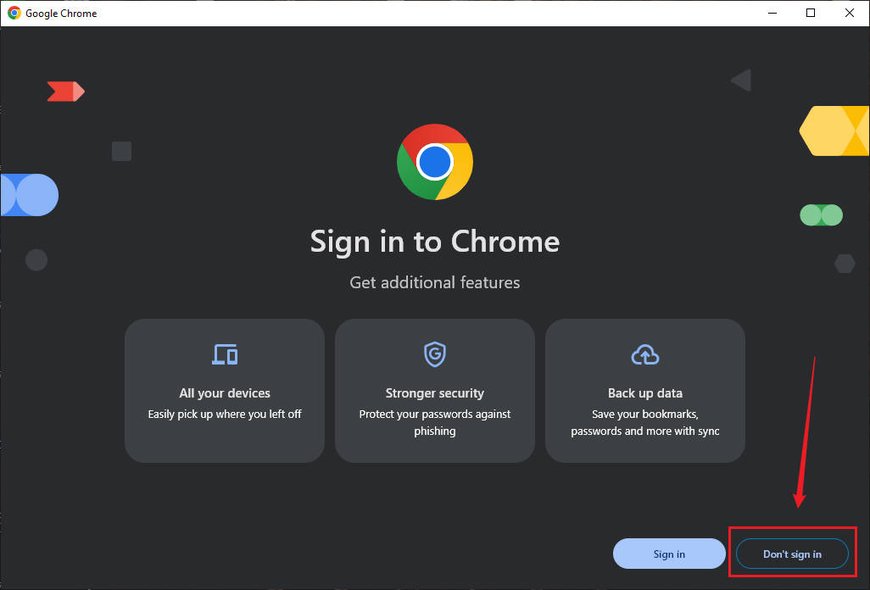
Now, when you double-click the shortcut, Chrome will prompt you to sign in to your account. If you used an account while creating the profile, please sign in again in this window. Otherwise, click “Don’t sign in.”
After that, Chrome will open the specified website in kiosk mode. To quit or exit the Kiosk mode, simply press “Alt+F4” in your keyboard.

We hope that you now have a better understanding of how to open your Google Chrome in kiosk mode. If you enjoyed this article, you might also like our articles on how to make PDFs open in Chrome instead of Edge and how to stop pdf from automatically opening after download in Chrome.